Oh, yeah, that Raspberry Pi thing I setup this blog for…
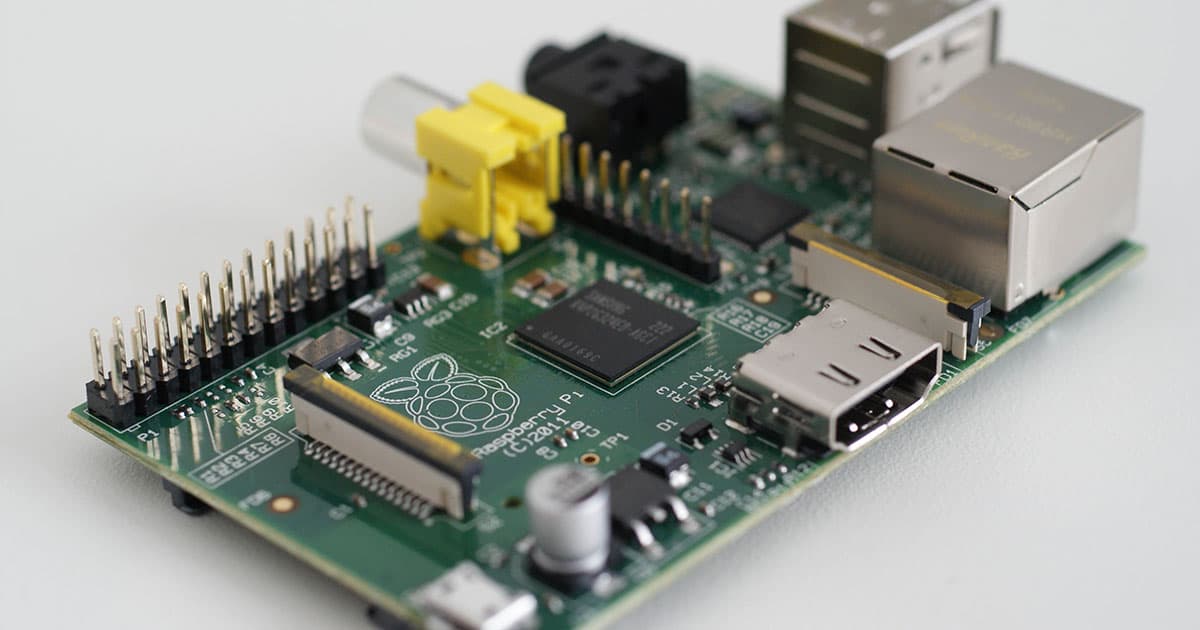
Right, so about a week before Christmas I get an email from Allied Electronics that my Raspberry Pi's (Pies? Pis?) are in stock! Hurray! I will now wait a week for shipping and then another week to return from holiday travel! Curse you, electronic communication being faster than physical... But I digress, before New Years I had my hands on the sweet new hardware. A quick trip to the local electronics mega store and I had some fresh SD cards to load Raspbian onto. Now, there are a million tutorials out there on how to do this, so I won't go into it except to note the following:
If you're on a Mac, are using Safari, and have turned off "Open 'safe' files after downloading",
probably because you understand why 'safe' is in quotes, then be sure to actually perform the
extraction of the Raspbian image before doing the dd. Yeah, whoops. Other than that, it works
exactly as on the tin and booted perfectly. Oh, and do a software update, the distro is only
released so often.
Miniature Ruby
Great, I have my cute little board with it's SoC humming along, now what? My plan all along was to see what I could do with those handy GPIO pins. I have an Arduino Uno that is quite fun to play with but I'm more of a dynamic language guy. I like to pop open the REPL and play with new features instead of sitting through a code, compile, hope, break, debug, repeat cycle. It just hurts my brain. Let's get Ruby on here!
The process for this is pretty much exaclty like I described before but with some library requirements for Debian:
sudo aptitude update
sudo aptitude install ruby-build zlib1g-dev openssl libopenssl-dev libssl-dev \
    libreadline-dev git
sudo ruby-build 1.9.3-p194 /usr/local
Now wait a long time. Really, go to your local coffee shop or pop out for a beer. If you want to
check on the build, look in /tmp/ruby-build.«date».«rand»/, where «date» is the timestamp when the
build started and «rand» is some random number it picked for the temp directory. I didn't bother to
time it but I watched a couple episodes of Numbers while I waited. Once it was done, however,
everything seemed to be snappy enough. Check to make sure everything is working by doing a ruby
--version check and launch irb to poke around. Once those are set, you'll want to update
Rubygems.
sudo gem update --system
This shouldn't take too long. Once it's done, install the latest wiringpi gem.
Untethered
At this point I put the Pi away for a few days while I traveled for business but while I was away I couldn't help thinking that it was going to be a pain in the butt to always have to plug it into an Ethernet source in order to develop on it. All the networks I normally connect to are wifi and the RJ-45 is not in convenient places for hacking. Jón had already found the answer and shot me over the Raspi verified peripherals wiki page and I found an ideal adapter: the Airlink 101 AWLL5099 miniature USB wifi adapter. It didn't have the most amazing range, but it could be run directly off the Raspi's USB ports without a powered hub in the mix. This is important for one of the potential projects I want to use it for (another post, another day). A quick order on Amazon for this amazingly cheap device (less than $10?!) and it was at my doorstop before I got back. Unfortunately, all the setup instrcuctions I found failed to work for me. I kept getting strange errors that no one else seemed to be getting. Finally, at the advice of this post, I gave up and installed wicd. The post warned that a bunch of things would be installed, but only 6 packages for a total of less than 10MB were added for me.
So, without further ado, I did the following:
First, I did all the pre-flight checks here to make sure the Pi was detecting the dongle then
stopped before any of the wpa_supplicant stuff and instead installed wicd.
sudo aptitude install wicd-curses
sudo wicd-curses
Once the GUI pops up:
- Press
Pto bring up the preferences panel; - Arrow down to the "Wired Interface" section and remove
eth0so that wicd will not try to manage that interface; - Press
F10to get back to the scan list; - Arrow up or down to select the ESSID of your wireless network;
- If the network has a password, press the right arrow to bring up the network settings panel;
- Arrow to the very bottom and type in the password for the network;
- Press
F10to get back to the scan list; - Press
Enterwith your network selected and wait a moment while the network is connected and setup as denoted by status messages at the bottom of the screen; - Press
qto quit the curses interface.
Now, check ifconfig to make sure you have an IP on wifi, and if you're still plugged in via hard
line, that that interface is also still connected. Yes? Excellent, you're ready to start hacking on
your Ruby-powered, wifi-enabled Pi. Leave comments if you have errors.
Update 1: I was having some trouble with the download speeds via wifi and thought it might be an issue with the hardware. A little digging through my kernel logs and I found this error:
smsc95xx 1-1.1:1.0: eth0: Failed to read register index 0x00000118
As far as I can tell, people think this is a power problem, but it seems to only crop up with wifi adapters plugged in. This put me on the hunt for how to upgrade my RasPi firmware and eventually to this article that got me going. Between that and moving the device around a bit, I went from averaging 20KiB/s to peaking at over 1.5MiB/s. Hurray!