Versioning for 3D Prints
Just a quick post about versioning. In software, hopefully we're all familiar with using Git or other version control systems to make sure we keep a history of our work and the ability to back up and compare variations of designs. Depending on your CAD package, you might be able to use your favorite VCS or even something built-in. However, what do you do once you export your designs for physical manufacturing? I've seen a handful of solutions like automatically baking an embossed version number in during export, and complex version numbering to identify parts in assemblies absolutely. While all of those are great for those project's needs.
My needs, by contrast, are much simpler: for each part I'm making, they are generally very visually distinct and don't require some global part number to distinguish it. Also, usually the parts are for short-term projects where long term versioning outside of my CAD package isn't necessary. Instead, I only need my versioning to be a side-by-side record for iterations during the initial build-out to compare fitment, functionality and aesthetics.
A recent example of this was designing a quick-release plate for a free tripod that came without one. The first step was a series of test models to ensure I had the critical dimensions correct. Then I could use that data to build out a more complete model that embedded those dimensions and looked good to boot. With the design mostly locked in, at this point later versions were testing strength parameters for 3D printing and adjusting for unexpected variances in non-printed parts after direct testing.
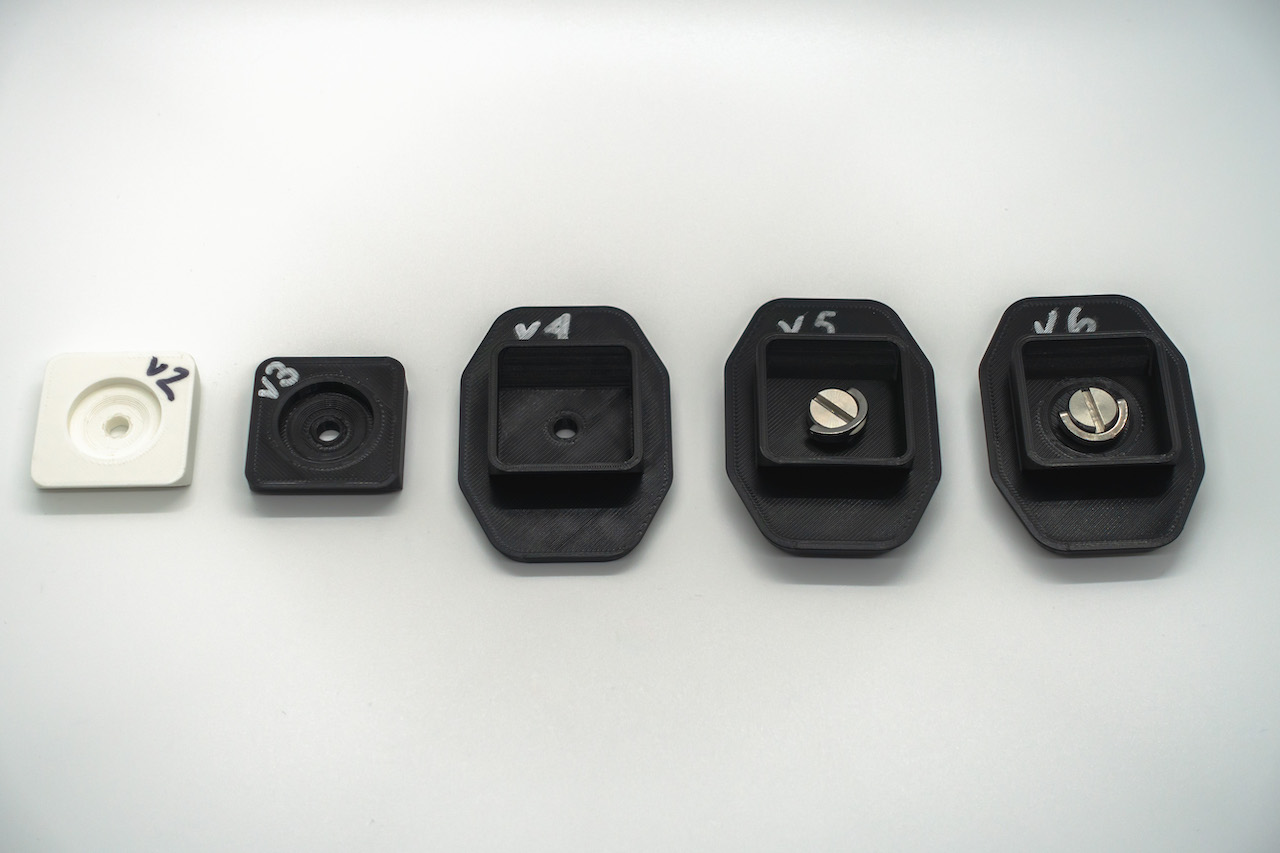
Fig 1. Subsequent versions of the tripod quick-release plate
In the picture above, you can see the first few versions are just the trapezoidal interface that gets locked into the tripod. These prints were fast to print and even faster to modify. The subsequent versions were designed with that core shape in mind but then added a more complete plate and a few flourishes to make it look like a finished manufactured part. I also spent some time to ensure it was printable without supports.
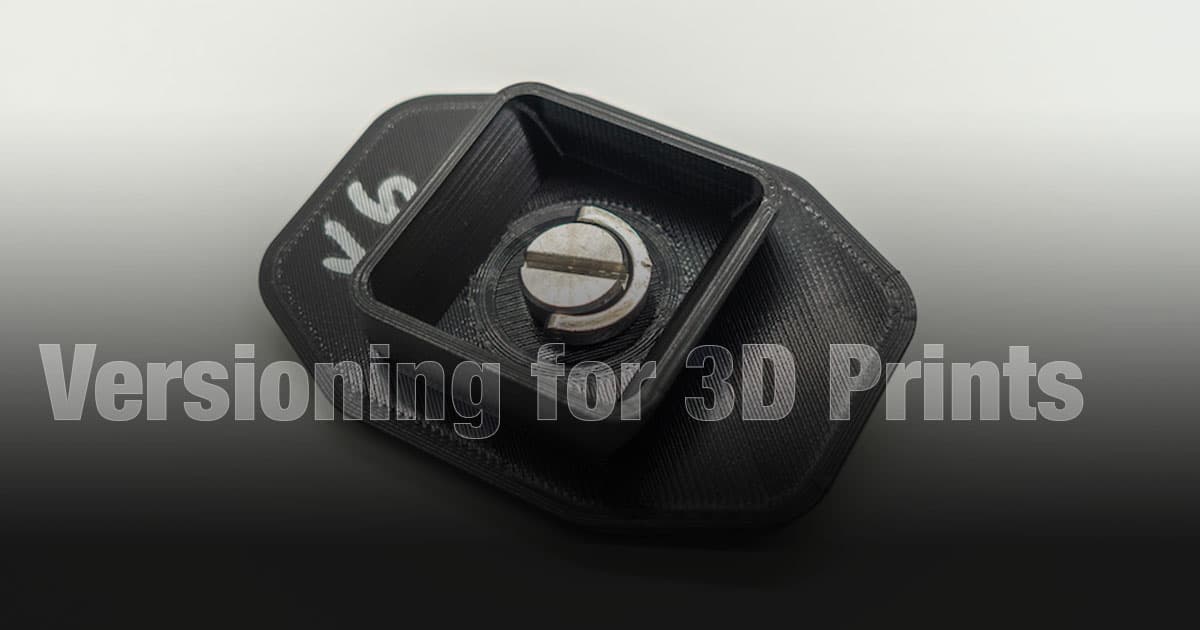
Numbering is done with with each print getting another number higher. Keeping to the simple approach, it's all just Sharpie. Black for light colored parts and silver for dark parts.